
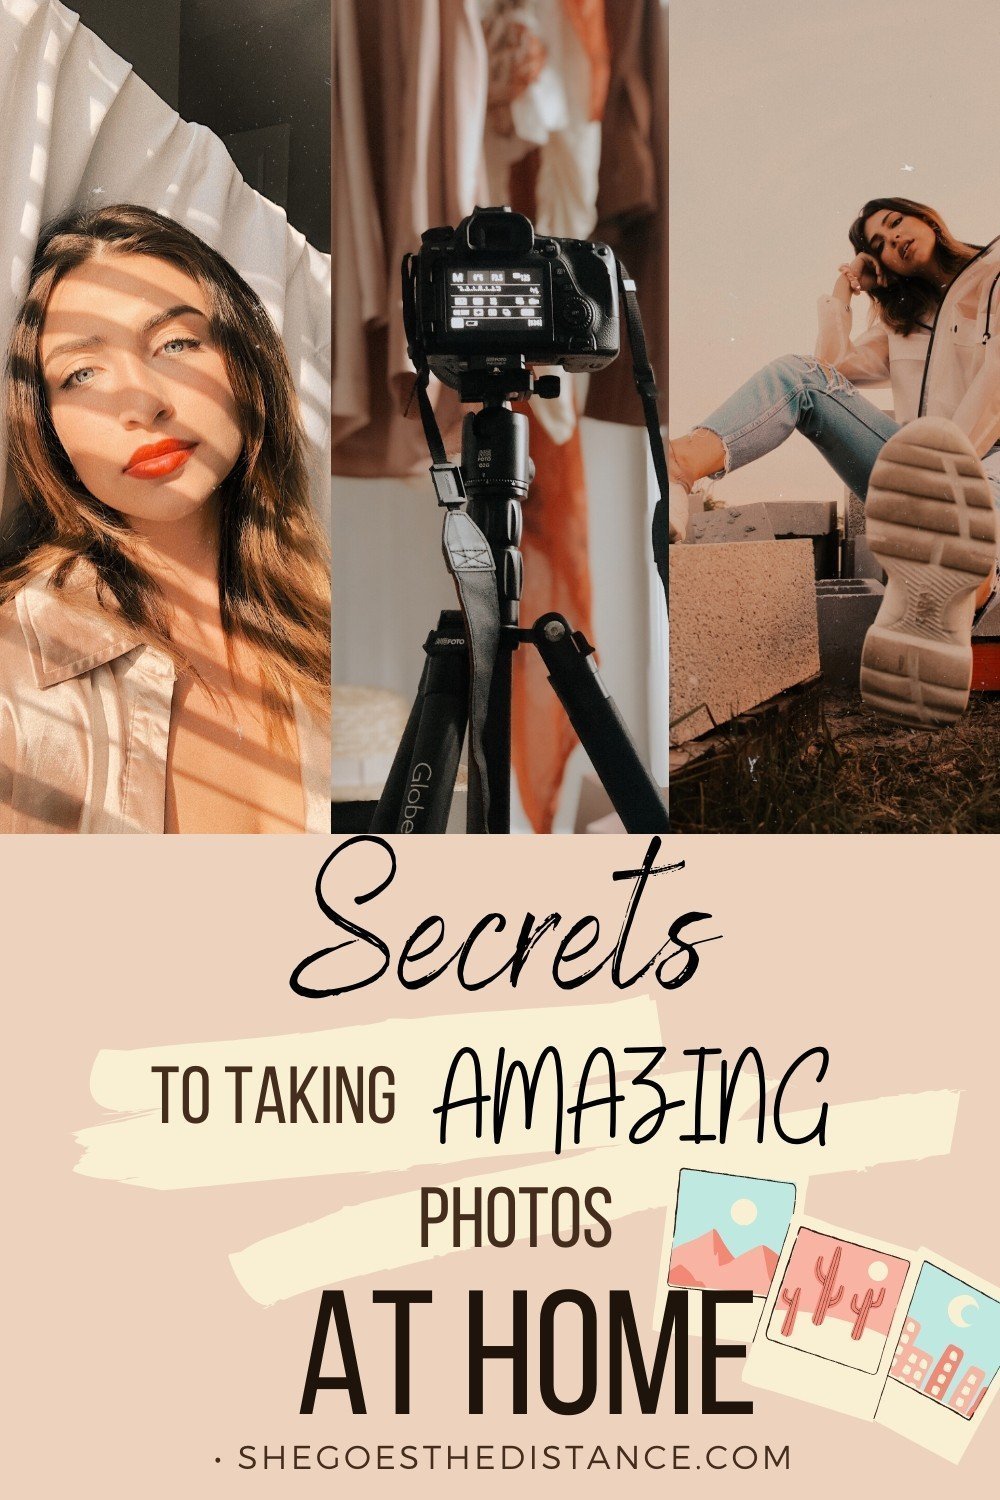
Being stuck at home doesn’t mean we can’t get glam and take Instagrammable pictures. In fact, it actually pushes us to be more creative as photographers. These at-home photoshoot ideas and tips are perfect for someone looking to practice their photography or content creators who are in a bit of a rut for inspiration.
I am a photographer, but I also like to be the subject in my photos a lot of the time! So, I’ve included some useful gear for taking pictures of yourself if you are alone.
My best advice though would be to grab a friend or family member and try to communicate your vision to them (we’ll talk about this topic later.) I can get easily frustrated if photos aren’t turning out the way I envisioned, but the key is to be patient, work with what you have, and just keep shooting!
Some of the links in this post are affiliate links, where if you make a purchase through that link, at no extra cost to you, I may receive a small commission to help support this blog! If you would like to read my full disclosure, it is here.
At-Home Photoshoot Tips
The first section of this post is dedicated to your photography setup for your photoshoot, as well as some advice on how to cultivate a vision for your shoot.
What You Need To Take Pictures of Yourself
If you don’t have a friend or family member to help you out with a photoshoot, there are some useful tools to help you create the perfect setup.
Tripod
My absolute favorite tripod is the MeFoto Globetrotter S Carbon Fiber Travel Tripod. That’s a mouthful. This tripod is one of my travel photography gear essentials because it is so lightweight yet durable. It is quite expensive, so I only recommend this tripod if you are going to use it a lot or you do a lot of travel photography.
If you don’t photograph as much or just need a basic tripod for your at-home photoshoot, there are less expensive options. Stick to aluminum tripods like the Amazon Basics aluminum tripod.
It’s perfect for a beginner or anyone who doesn’t use a tripod that much and just wants one on hand. You can always upgrade later if you find you get a lot of use out of it!
Remote
The other thing most important tool to have an amazing at-home photoshoot is a camera remote. You can get a really basic and inexpensive remote, you just have to make sure it is compatible with your camera.
If you’re using an iPhone you don’t need this tool, but the remote is helpful if you’re taking pictures of yourself with a DSLR.
Using the remote, you don’t have to set your camera on a timer and keep running back and forth to click the shutter release. You can just set up the wireless connection and hold the remote while you are posing, clicking it to take a photo!
Just be sure you order one that is compatible with your camera body. You can get more use out of a camera remote outside of an at-home photoshoot, like if you are traveling solo or doing astrophotography.
Find Inspiration & Create a Vision
As a photographer, I like to get to know the area I will be shooting in beforehand.
Take note of the colors, the lighting nuances, and the textures to get an idea of what is available to you.
Then take that information to Pinterest or magazines and look for similar elements that you have available to you. See how others have gotten creative with them.
These are some of the best places to save at-home photoshoot ideas and inspiration for when you are ready to shoot!


Moreover, get to know your surroundings. Since we are talking about at-home photoshoot ideas, observe plant areas in your yard, any architectural structures in your neighborhood, or prop opportunities in your house.
Observe, search, and gather inspiration from other images to set an intention for your photoshoot!
The intention or vision is important so that you have an idea of the kinds of things you could and want to create. This prevents feeling lost in the moment and pressure from being in front of a camera.
With a vision, you’ll stay on track with the whole feel of your photoshoot. You’ll also feel freer to be creative on how you put your own spin on your photos!
Lighting Choice – Golden Hour or Daylight?
One of – if not, the most – key aspects of photography is lighting. Lighting will dictate the emotive feeling of your photo more than the technical settings of your camera.
My favorite type of lighting, for portraits outside especially, is the coveted golden hour.
It’s not only because of that beautiful goddess glow it provides but because of the softness of the light. It’s way less harsh than broad daylight or even sunrise.
Your lighting choice will all depend on the photo you are trying to achieve. In a yard, I would go with golden hour. If I’m shooting in my bedroom, I would personally choose daylight since my room is a darker space and I’d want to harness as much light as possible.
See what your shooting area best calls for and go with your gut!
Editing Your Photos
None of these at-home photoshoot ideas will matter if you don’t know how to edit your photos!
I have several resources on Adobe Lightroom for editing photos, as well as some of my presets to download for free or shop!
I won’t go too in depth here, but here are resources for editing photos:
- How to Make Eyes Pop in Photos Using Lightroom
- Lightroom Shortcuts
- Lightroom Editing Tricks for Travel Photos
- How to Fix Overexposed photos
At-Home Photoshoot Ideas
Here you’ll find ideas on how to create amazing photos at home, based on lighting, props, and the environment around you!
1. Play With Shadows

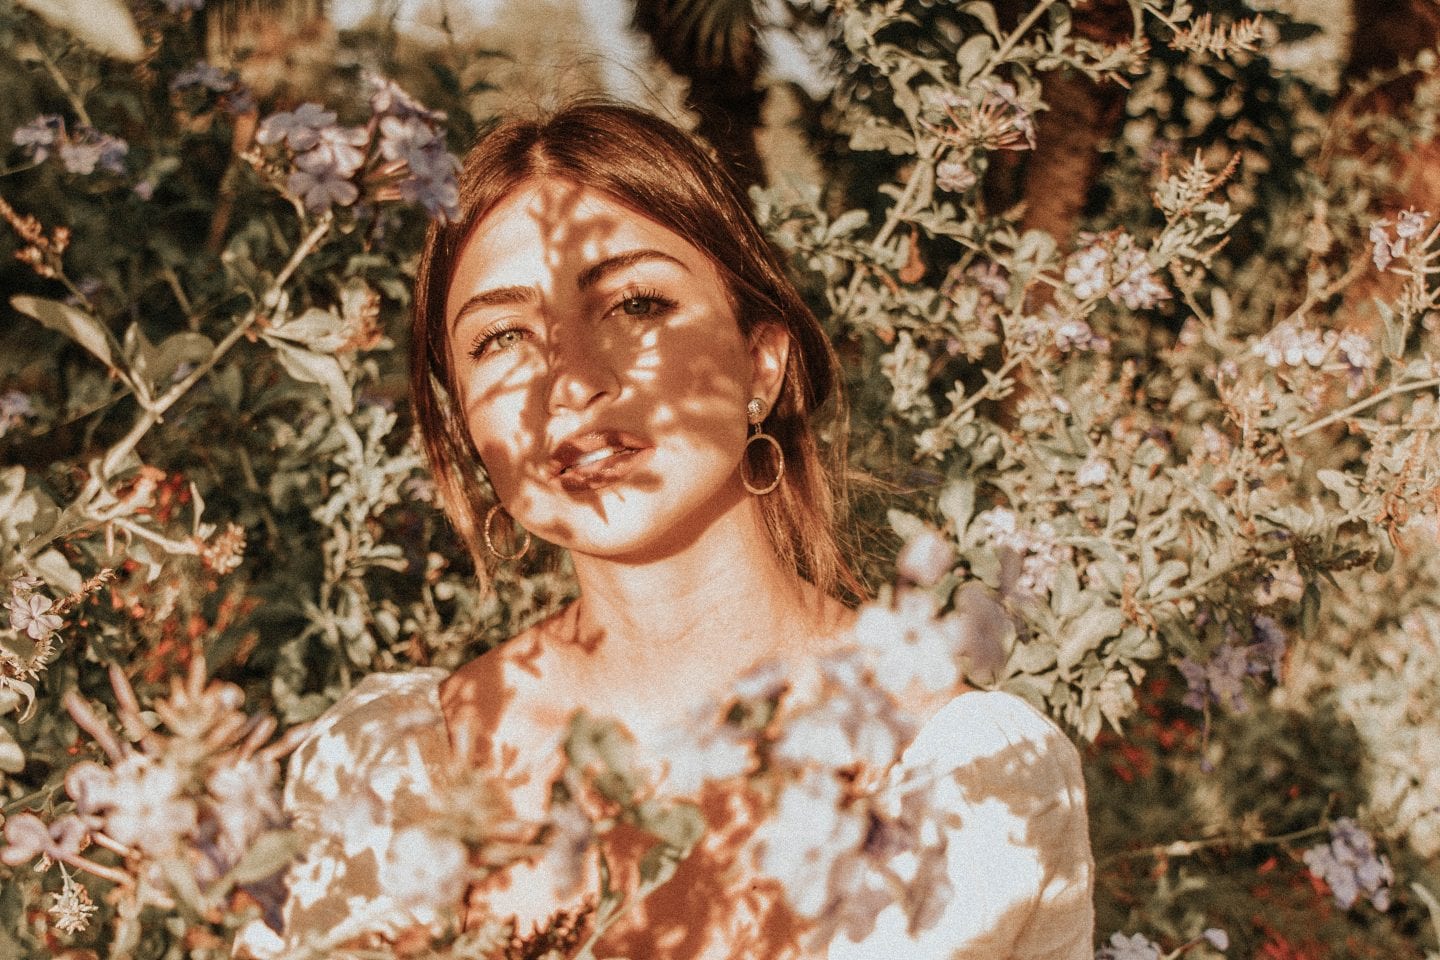
So, with an at-home photoshoot, you may be thinking the creativity of a photo is limited. But creativity can only be better because you are forced to work with what you’ve got!
Some of my favorite photos I have taken at an at-home photoshoot is using the lighting to create interesting shadows.
Experiment using curtains, glass doors, blinds, trees, or flowers. Find anything you can think of that light can pass through!
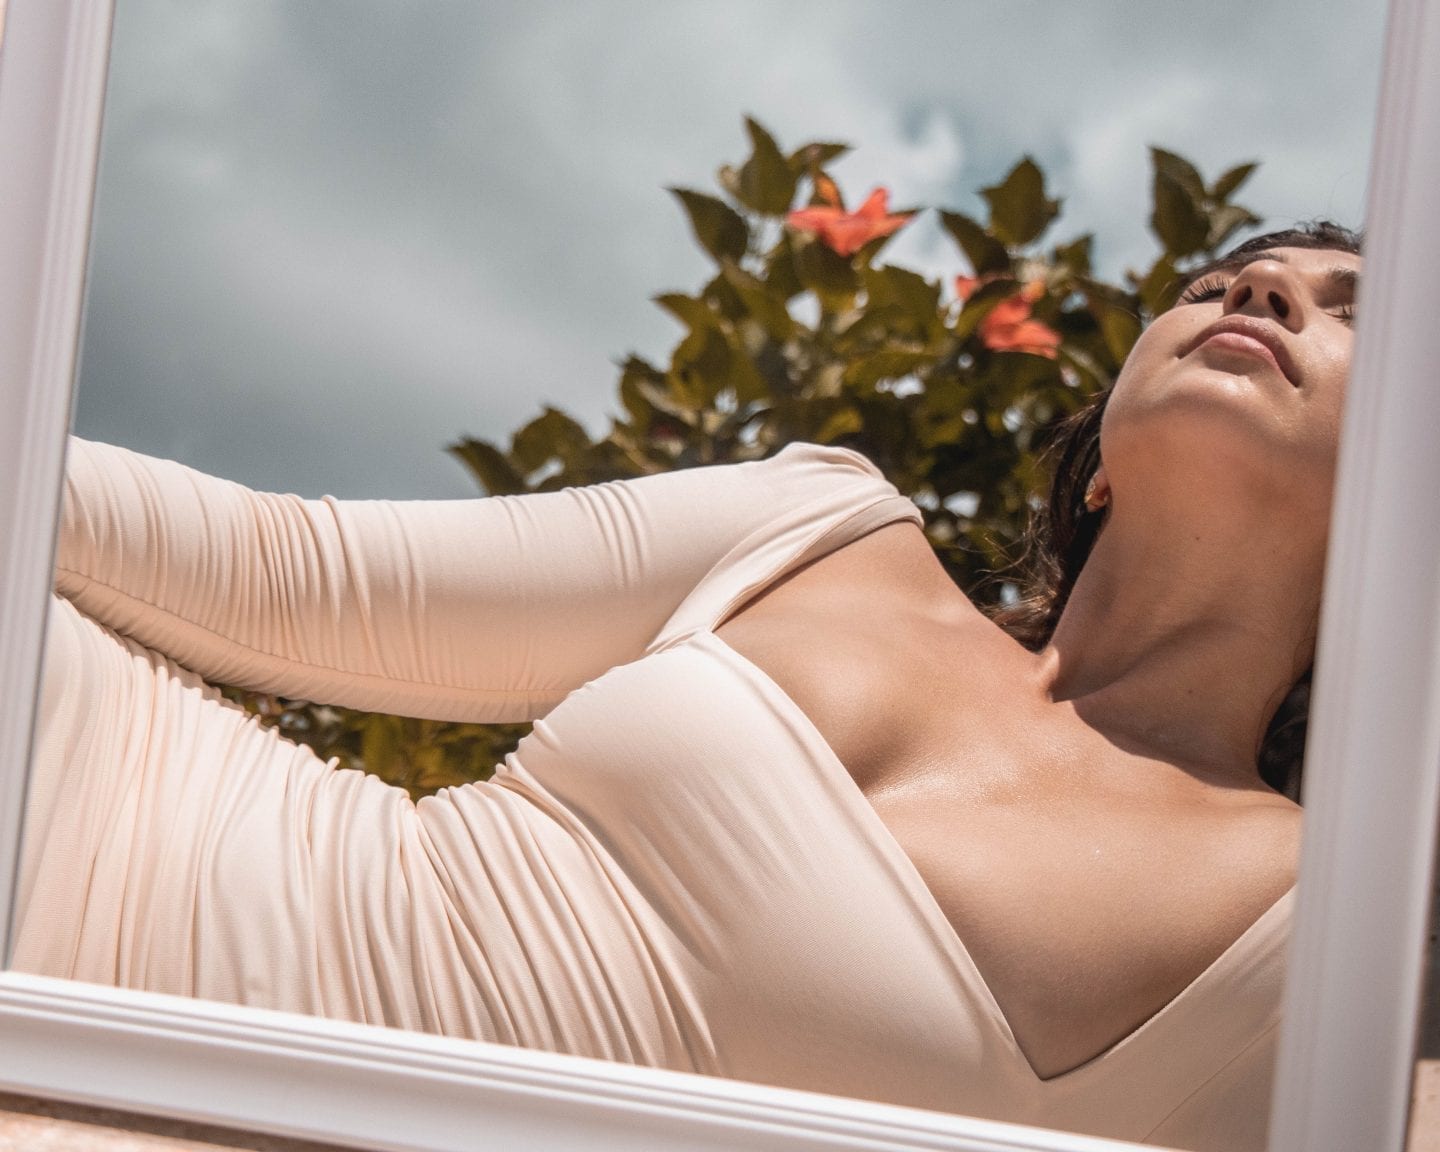
2. Change Your Shooting Angle
Trying to cut some hideous backgrounds out of your photos? Have a great location but the photos look boring? Experiment with the angles you shoot at!
For example, I was shooting in my neighborhood and there were cinder blocks stacked up near the construction of new houses. I had the perfect idea for a grungy, street-style inspired picture.
But there were houses in the way and the blocks weren’t as tall as I wanted. I was frustrated at first but then we tried different angles to see if we could disguise the environment. We started shooting really upward to get this:

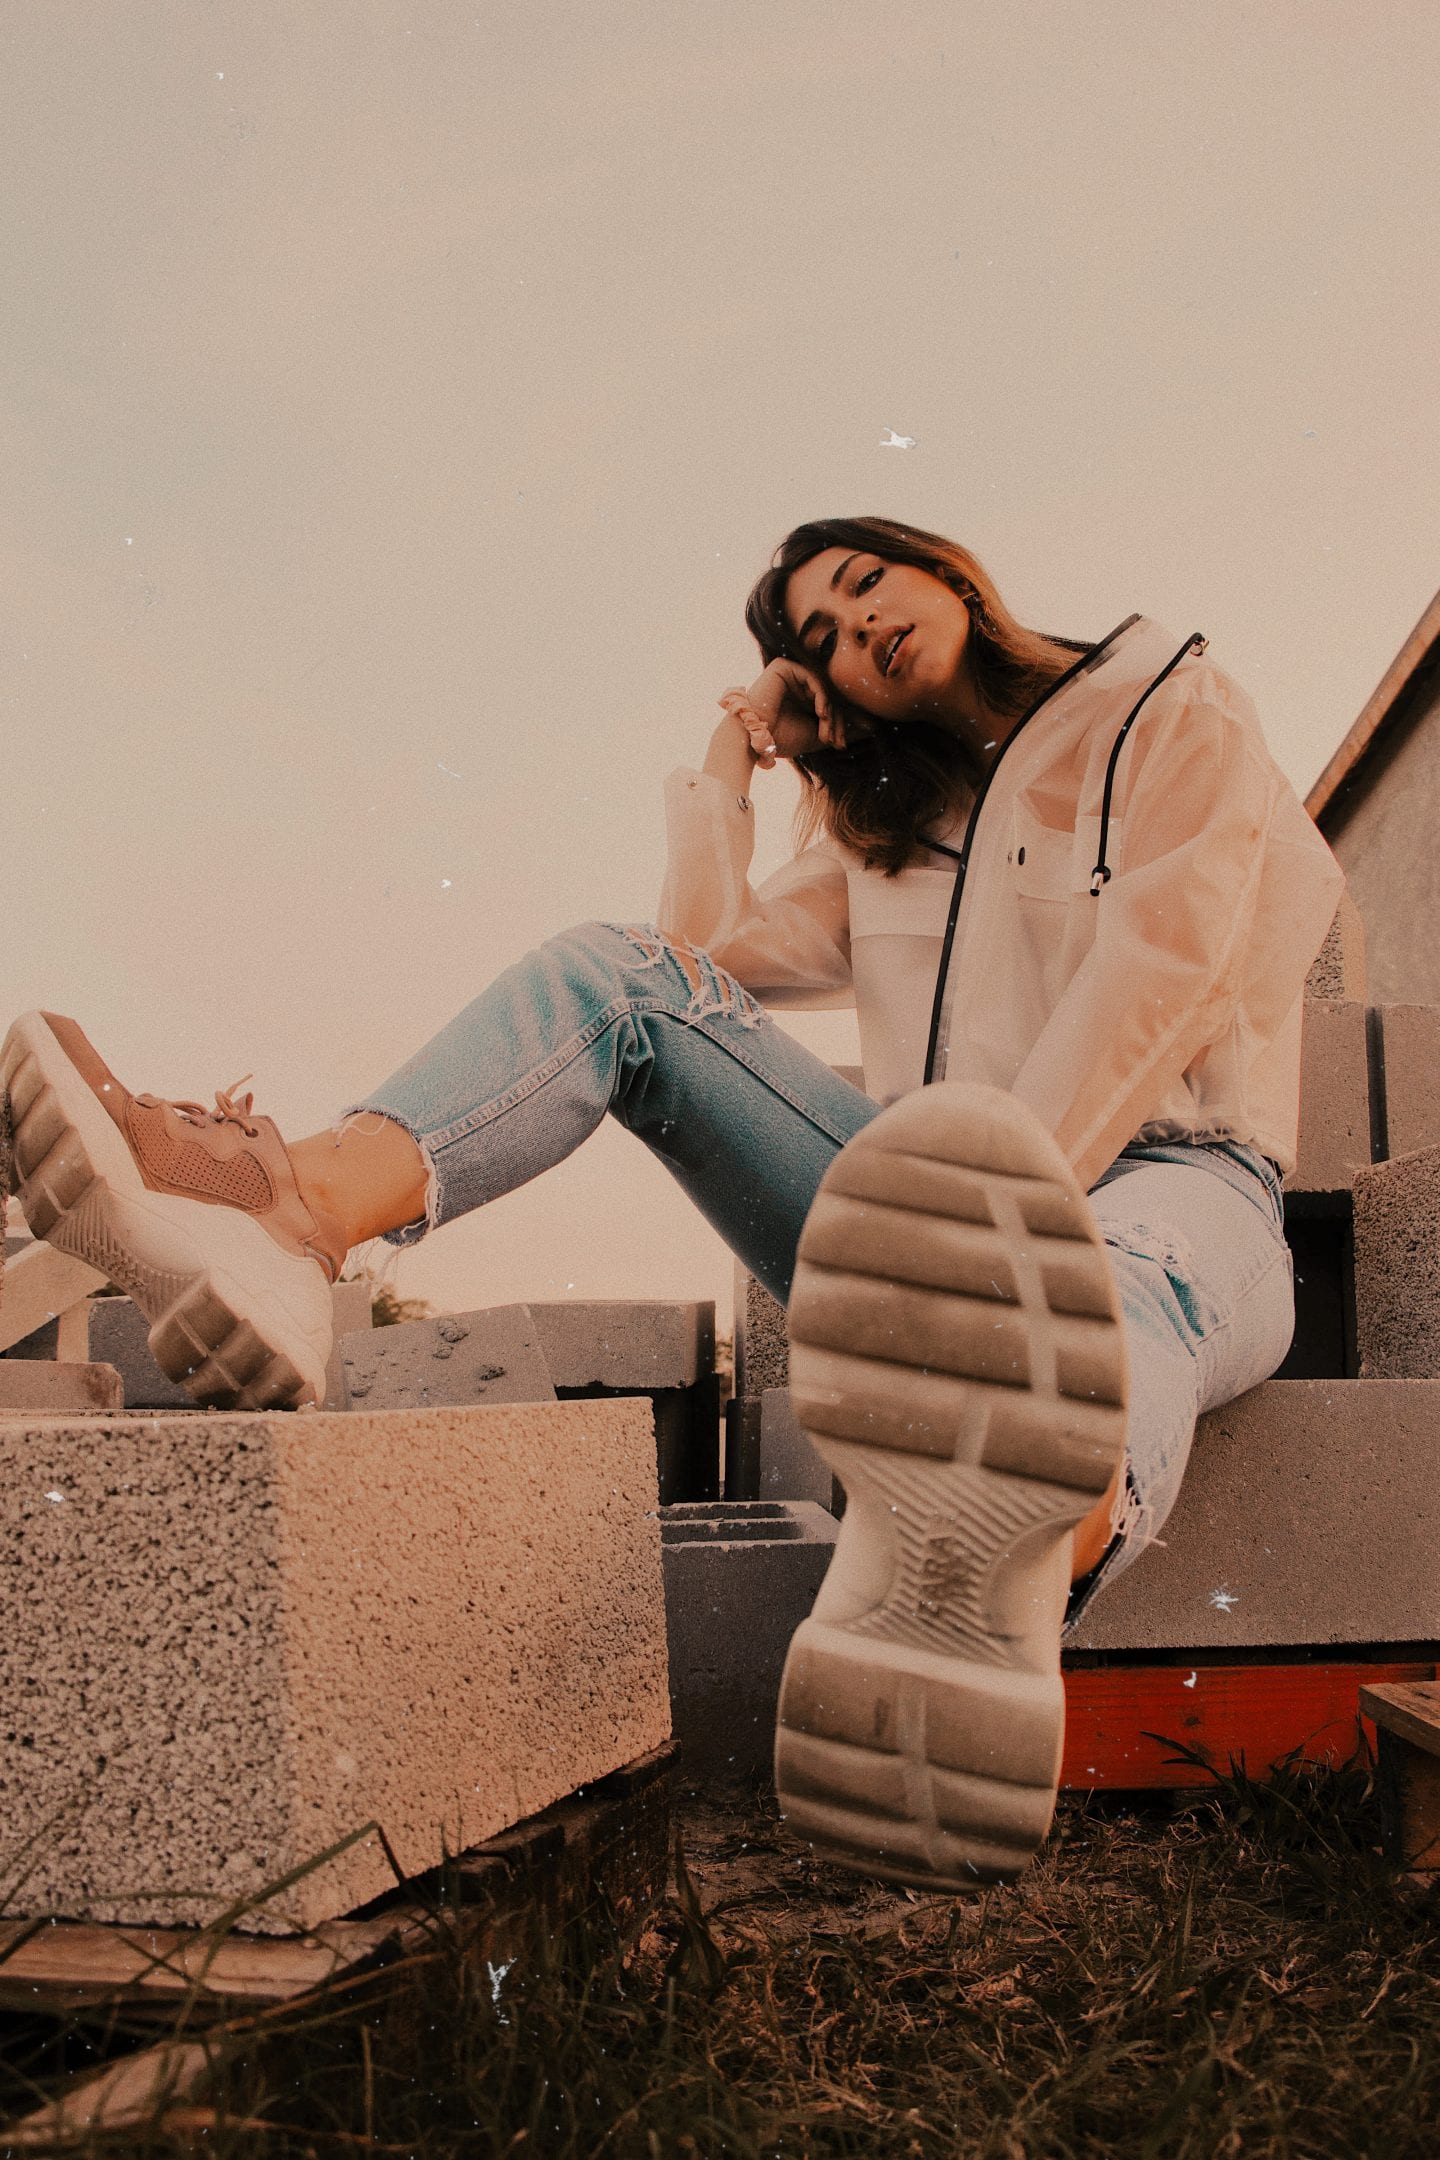
It perfectly captured my vision! So, the lesson learned is to try out different angles to work around obstacles. Don’t be discouraged if your original idea doesn’t pan out!
You could try shooting through flowers or foliage, or putting your camera low to the ground for a more interesting horizon.
3. Get Into Plants
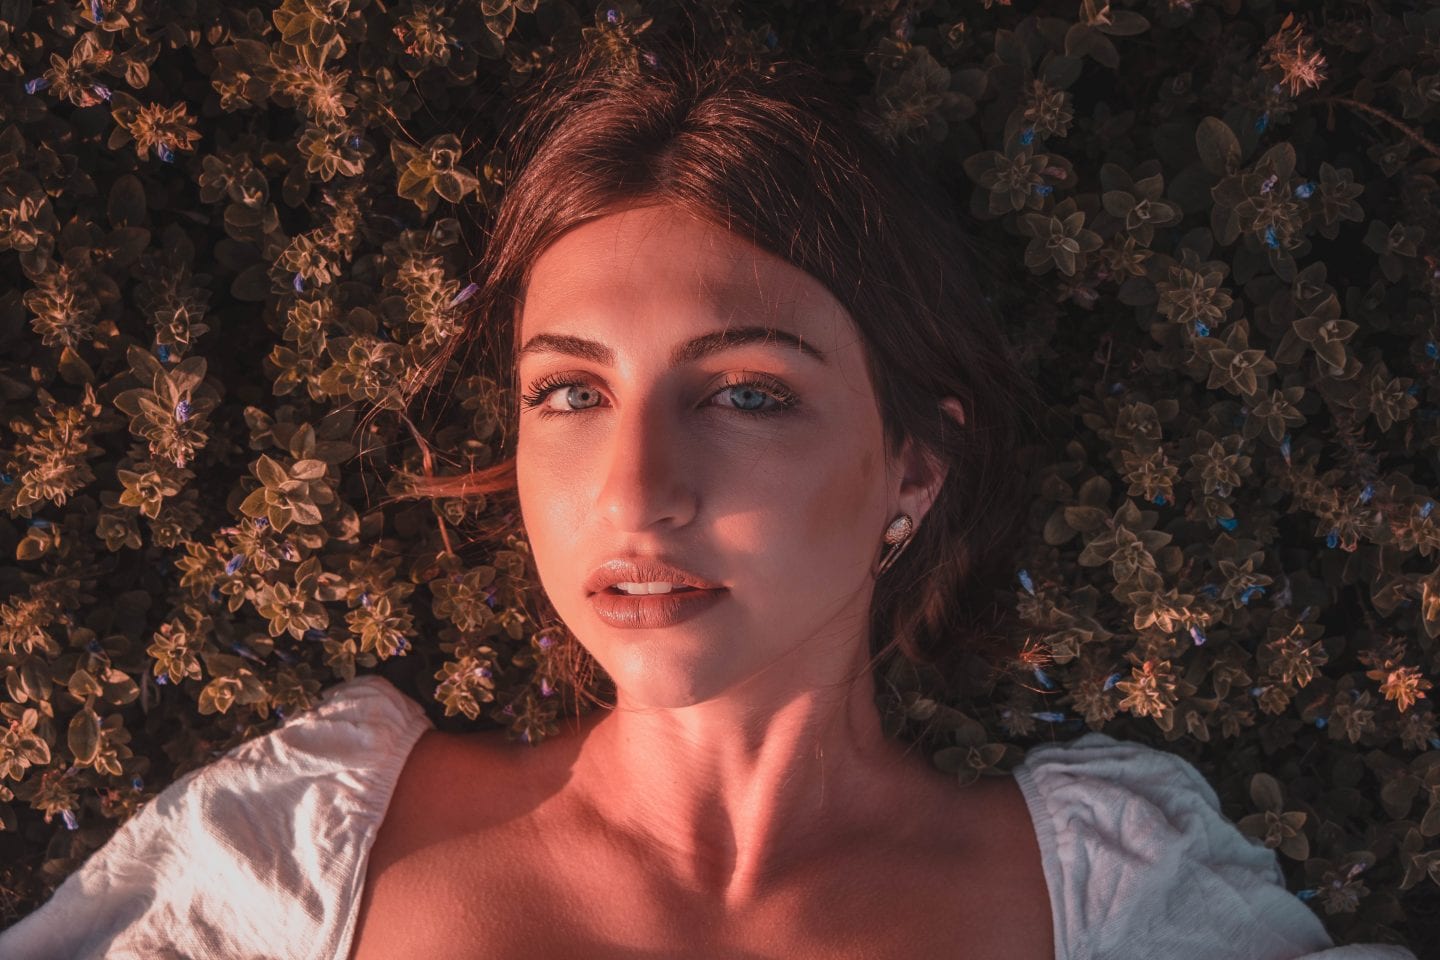
You most likely have your own yard or local park with some greenery. Don’t be afraid to get dirty!
I’ve always loved the ethereal, golden, natural look of photos. So, I tried to attempt that by literally getting in the plants!
Using plants as a background or foreground element offers color and texture, two factors that make a photo more interesting and intriguing to the eye.
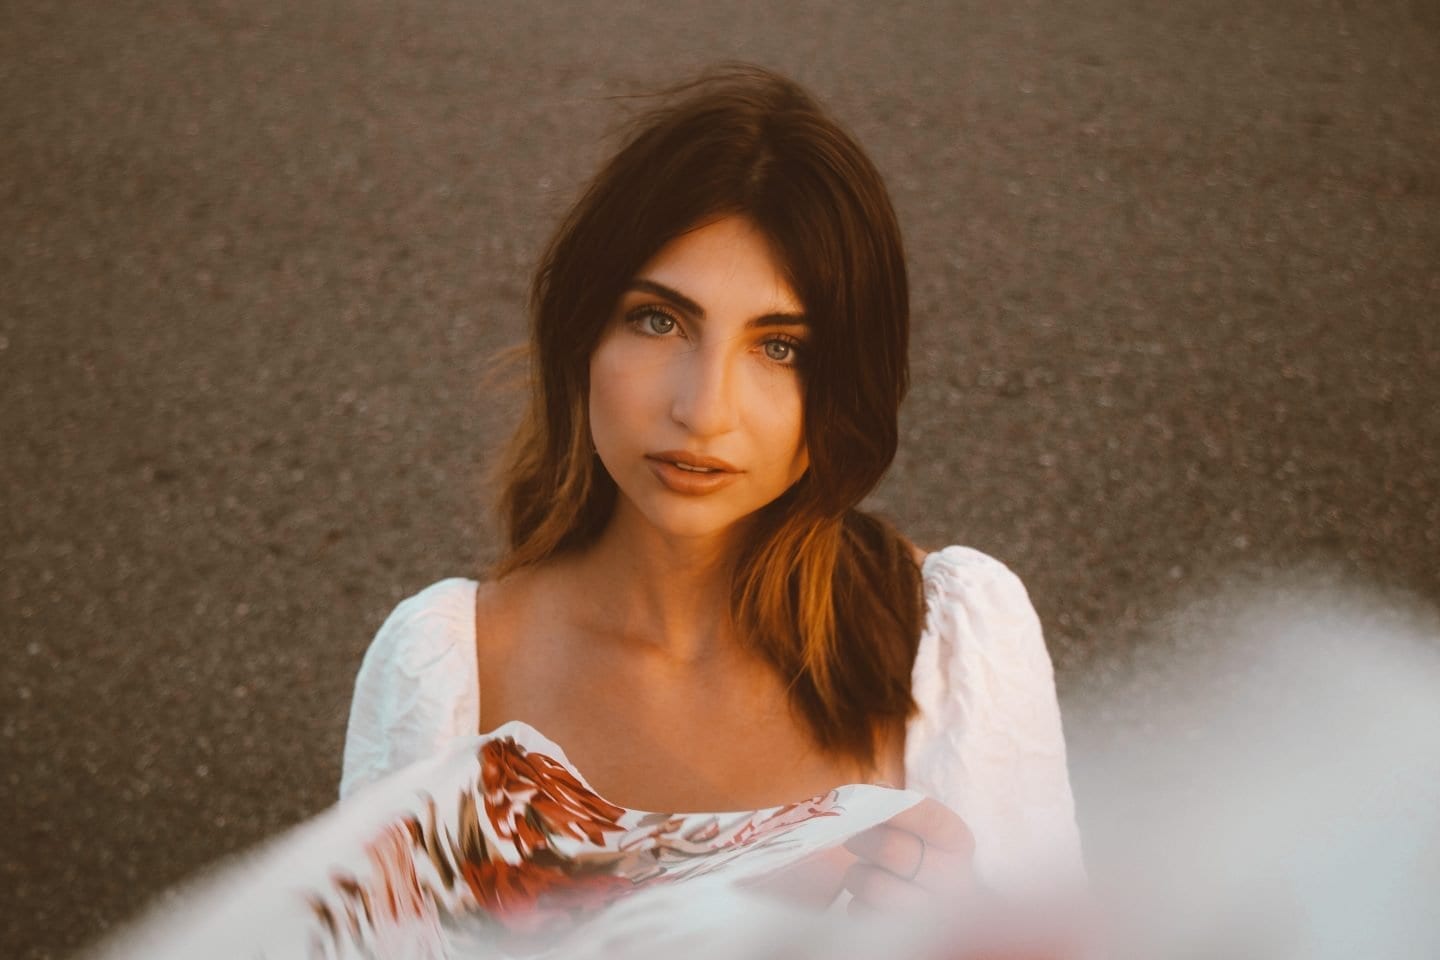
4. Scarves
Sometimes, photos are all about beautiful simplicity. Other times, props and tools really give a unique edge to a photo!
Think about the foundational aspects of photography. One, how can you manipulate the photo to be more interesting?
One of my favorite ways to do that is introducing movement. This can be through yourself moving, or more creatively, using fabric.
One of the easiest ways to practice this is to grab a scarf and play around with the effect it has on the image. Try holding it close to the lens and letting it blur with movement against your subject (it helps if you are outside and it’s windy, but you can also flap the scarf to get it to move.)
With a silky scarf, I got this effect:
If the scarf is sheer enough, you can also play around with shooting through it to see what effect that has on the photo.
For this at-home photoshoot idea, lighter scarves work better than thicker scarves since the vision is to create an airy movement.
5. Set Up a DIY Studio

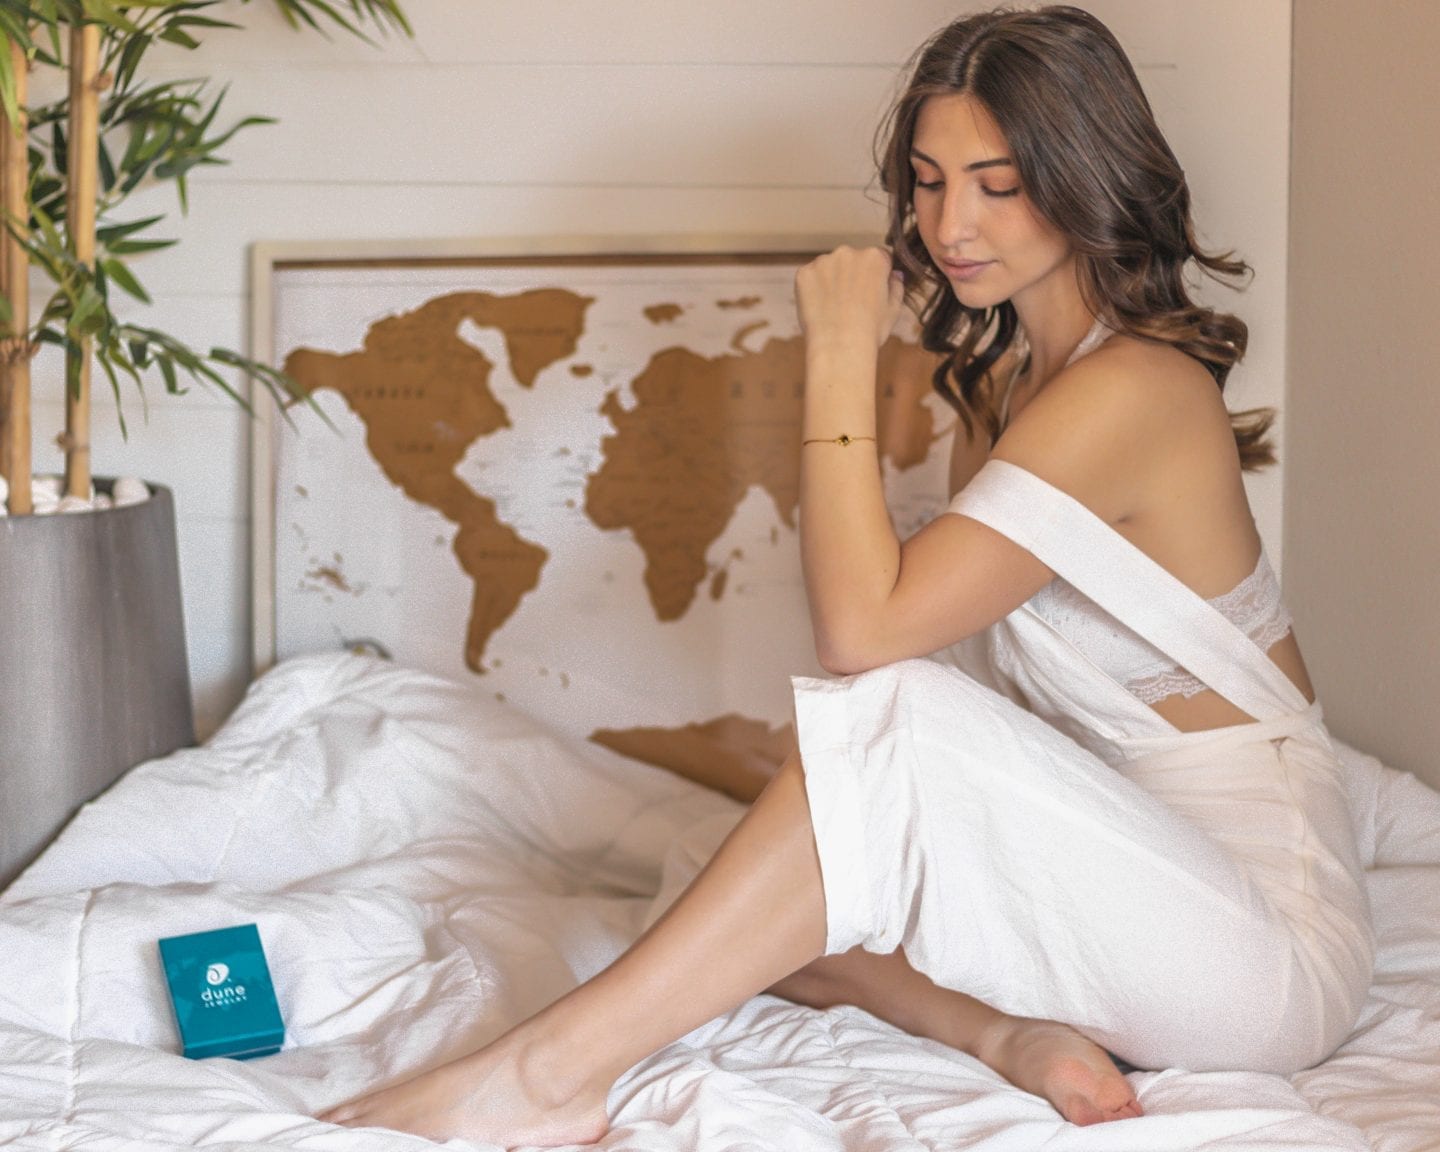
Setting up your own studio is one of those at-home photoshoot ideas that pushes you to be creative and use your resources and surroundings to create an entirely new environment!
You could hand a sheet along a staircase, find a blank wall, or use a wall with detail like the shiplap wall pictured above.
Have things like a poster board, sheets, a comforter, or a rug to place on the floor is you are shooting seated so you can bring more layers, depth, and color into the photo.
Your DIY studio may look awkward in the middle of your house, but once it’s in the editing room, it creates magic. You can easily post-process any parts you need to get rid of, crop the scene in if your lens is too wide, or blur out wrinkles in a sheet.
You can also use this technique to shoot objects, like I do for some of my blog photos!
6. Mirrors
Mirrors can be a fun photographic element and are easily accessible! You may already have one at home or venture out to a nearby craft store and buy one for cheap.
The trickiest part about shooting with mirrors is positioning them correctly and working with the elements! I’ve seen cute photos of people putting mirrors on the ground, but that has never worked for me. In this photo my mirror was propped up and I was shooting with a timer while my camera was positioned on a tripod.
It can take awhile finding the right angles, but you can achieve some really unique shots!
7. Shoot Poolside

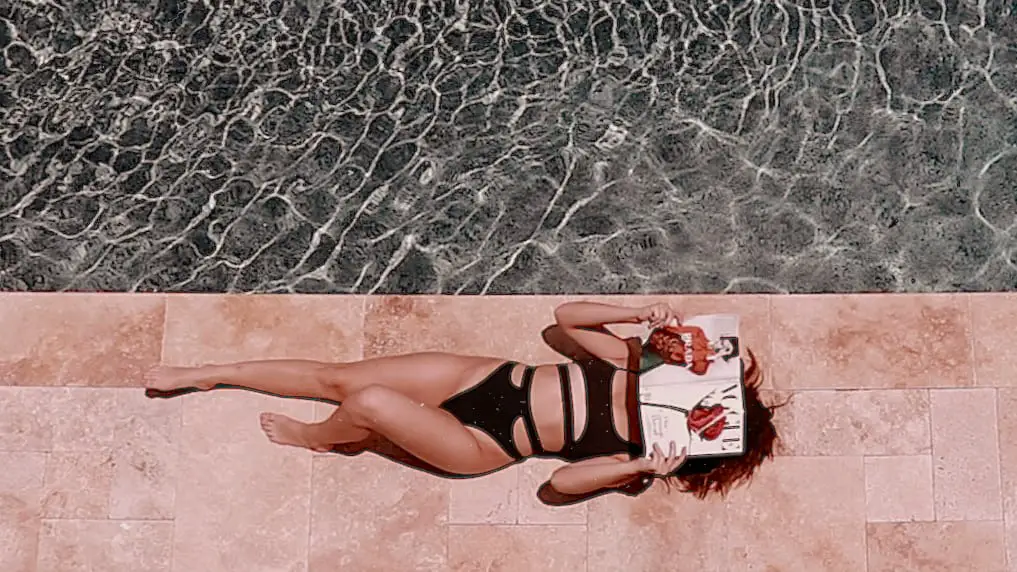
Depending on where you live, you may not have access to a pool but it’s a great photo location to create more interesting texture, and sometimes movement, in your photo.
This photo was actually taken from a balcony and quite stylized ahead of time. Having a vision will make any of these at-home photoshoot ideas come together and tell a story, rather than just being another element in a photo.
You can try shooting from interesting angles like up above, or playing around with shadows and water movement.
8. Use a Prism (Or Try These Tricks to DIY the Effect)
Prisms are objects designed so light passes through them and create a glowy, light beam effect. Sometimes, it can even create a rainbow effect. It all depends on what kind of prism you buy and how you shoot with it!
The great thing about working with prisms is that there are endless ways to creating new effects, whether it’s how you hold it in front of the camera, the lighting you are in, or the angles of the prism itself.
You can buy an inexpensive one on Amazon or try to DIY this effect either using the backside of a CD or a chandelier crystal (but maybe that’s a bit tougher to get your hands on!)
9. Blinds

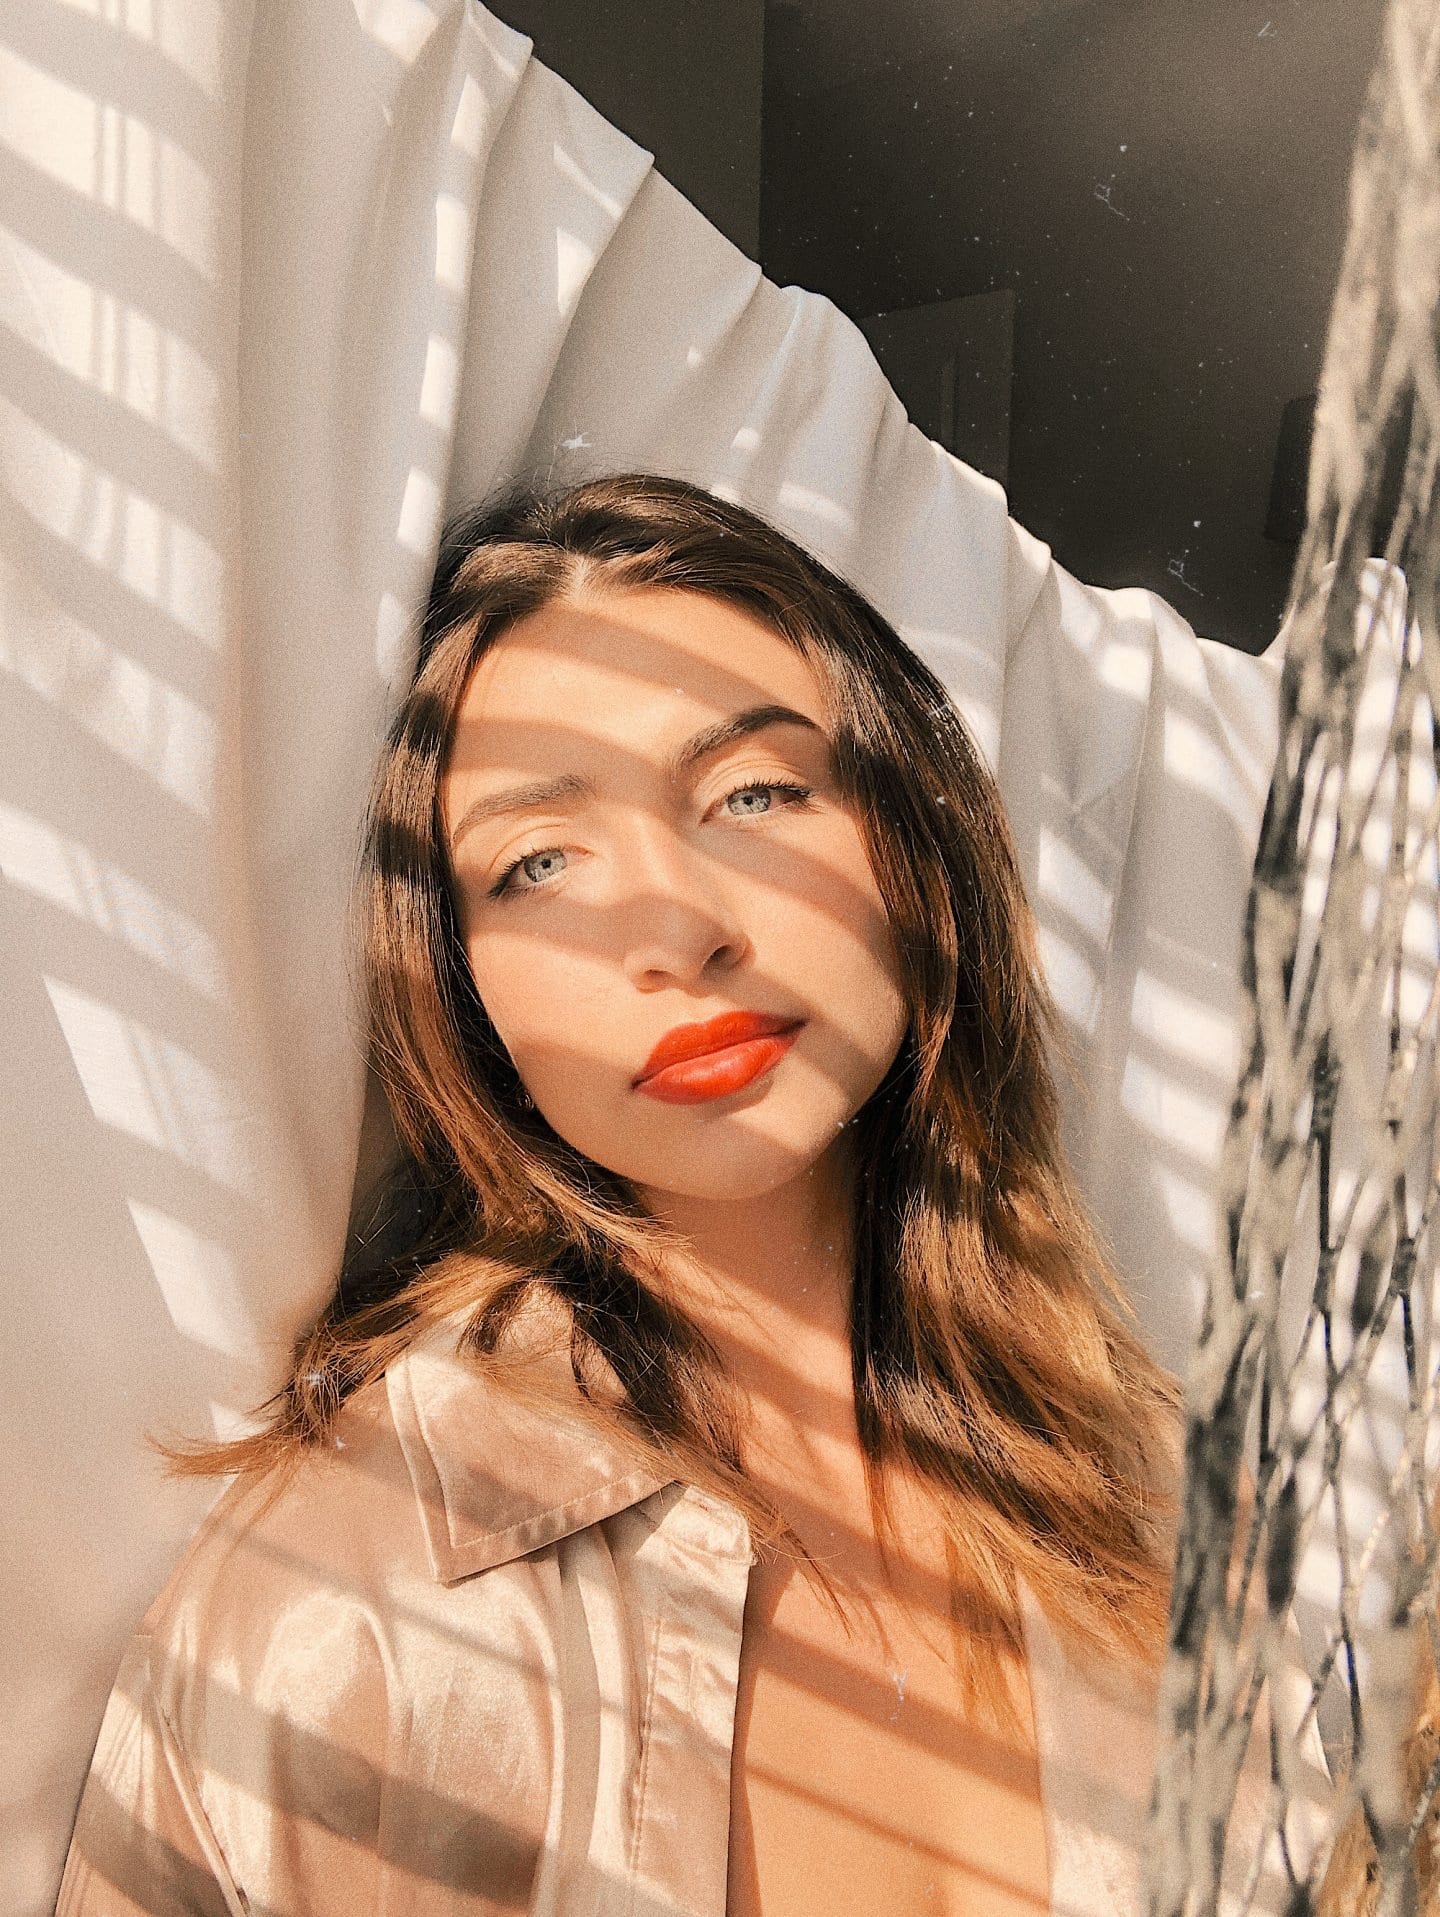
We already touched on playing with shadows, but I got such great results with this technique that I had to share it as a separate at-home photoshoot idea!
Set up a mini studio in front of a window, ideally facing the west so you can catch all the gorgeous light from golden hour. Take a sheet and hang it behind you to create more of a studio look.
Then experiment with poses! It could take a few tries to get a good composition on the photo since there are so many elements going on!
10. Fairy Lights
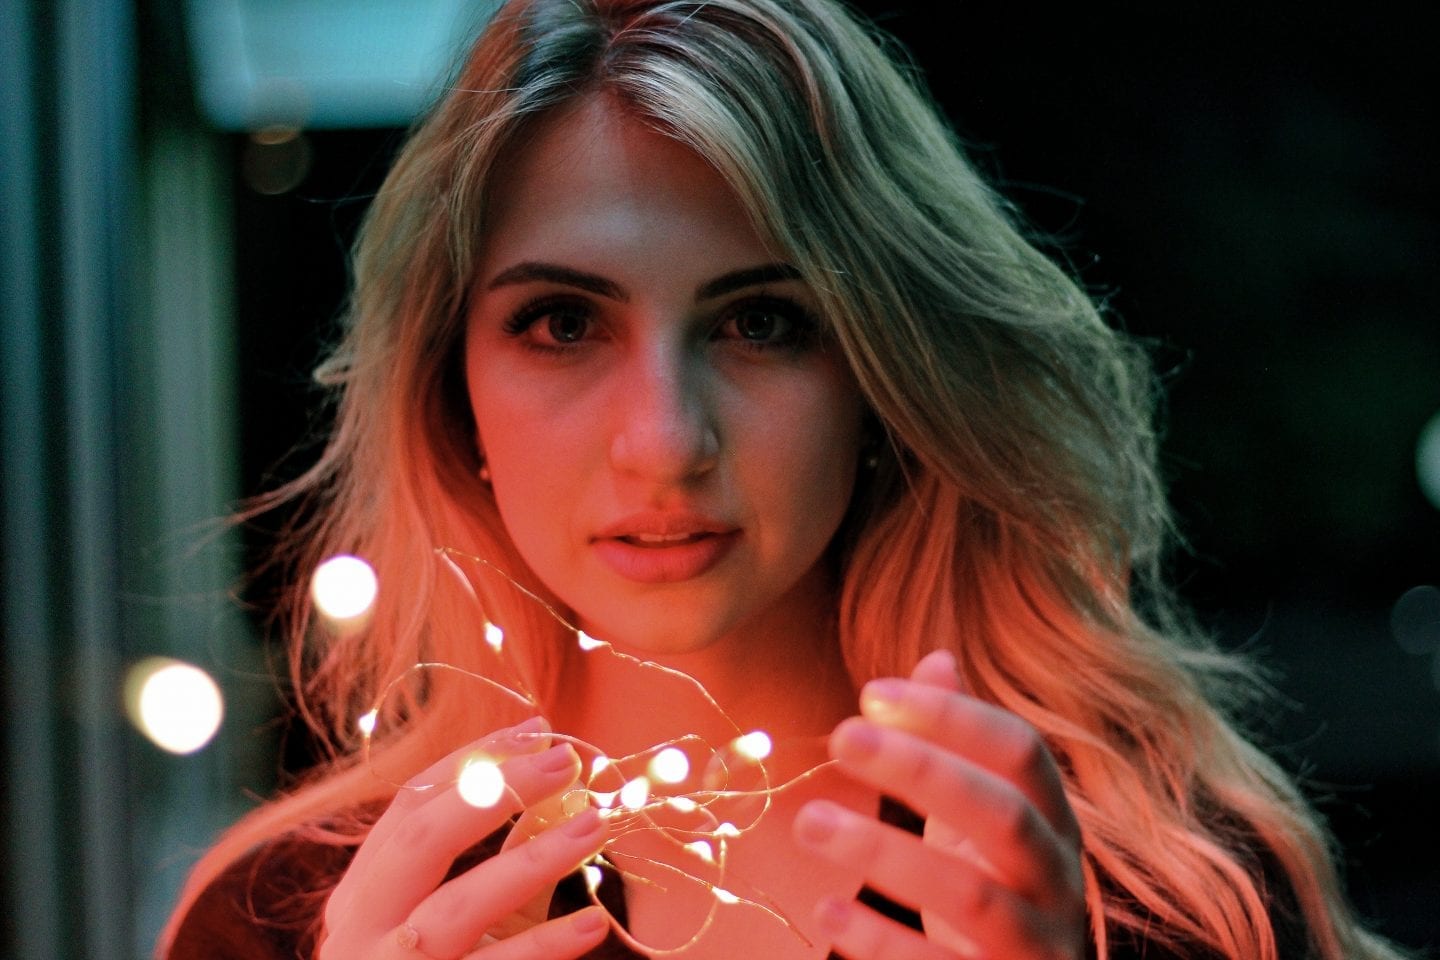
Fairy lights add such a beautiful element to a photo that you can be creative with in many different lighting situations. If you are shooting with a prime lens, you’ll also achieve some dreamy bokeh that will make
It’s also a great tool to use in conjunction with other props like sheets, prisms, or mirrors. For inspiration, check out Brandon Woelful – he is the king of fairy lights and neon lighting in photography!
I want to hear what you think of these at-home photoshoot ideas!
Leave a comment on some of your own ideas and point me to your Instagram!
Don’t forget to share this post on Pinterest!

Hopefully, this post fills up a bit of boredom, as well as a bit of your Instagram content!
Let’s keep getting creative with extra time on our hands… then we will take these tips around the world with us!
XOXO
Michela