

Are you a budding travel photographer looking to up your Lightroom editing game? Or just need some more tricks up your sleeves to make your photos pop? Whether you are taking travel photos on your iPhone and editing in Lightroom Mobile or shooting in manual mode on a DSLR and doing post-production on your computer, these Lightroom editing tricks for travel photography will add some new techniques to your editing arsenal.
Firstly, if you don’t know much about Adobe Lightroom, check out my post about Why You Need Lightroom where I give in-depth detail about its power as a photo editing tool!
When you think of a travel photo, you’re probably thinking big landscape.
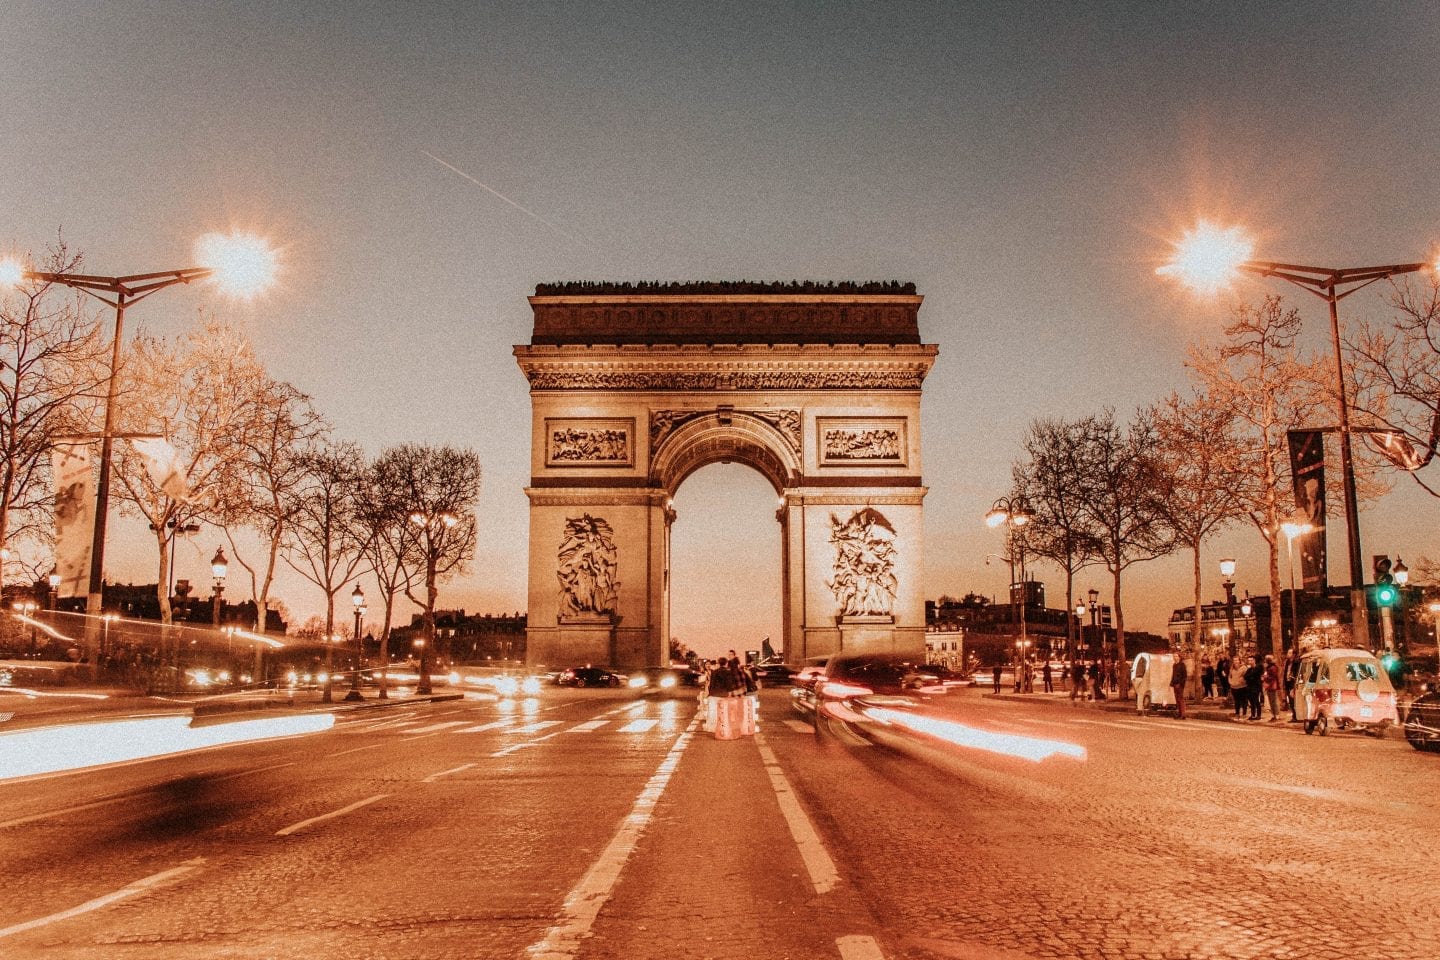
Or like most of mine, maybe a subject in front of a noted monument you want to accentuate.
In all cases, I’m going to walk you through some of my favorite tools to make these photos come to life.

This post does contain affiliate links, where if you make a purchase through that link, at no extra cost to you, I may receive a small commission to help support this blog! If you would like to read my full disclosure, it is here.
Why You Need Lightroom
So I’ve got a whole other post dedicated to this topic! Head over there real quick to understand the idea of Lightroom, what it offers, who it’s for, and why it’s useful – then jump back over here for the editing tricks!
This post is truly to help and showcase to you the best of what is offered for photography. I got my first camera during my freshman year of college four years ago. Along with it, I signed up to get Lightroom and Photoshop.
This was the best decision I could have made at the beginning of my passion. Post-production tools are as much worth investing in as your actual equipment – maybe even more worth it.
Lightroom is truly user-friendly with all the tools you could need to make flawless, seamless edits to your photos. I love how easy to use it is, yet there is room to grow and learn about more advanced techniques within the software.
With the ability to create your own presets and manipulate your image in whatever way without sacrificing the quality truly makes Lightroom my favorite editing application. I’ve seen the dupes and they just don’t compare!
It’s a 10 dollars a month I will continue to pay for the quality of the product and the efficient, endless possibilities it offers for photographers.
Plus, that 10 dollars also get you Photoshop, a software you can also use to edit your photos and get more advanced with graphic design!
Alright, let’s get into the hacks!
Tone Curve
When I first started getting into photography, I would mess with almost every setting – except the tone curve, which was a HUGE mistake! The tone curve is the foundational tool for editing the highlights and shadows of your photo and what could take it to the next level.
My favorite look personally is to lower the top right corner along the vertical axis and raise the bottom left corner on the vertical axis.
Sometimes I’ll also add a dot along the upper right of the curve and bring it up to accentuate the highlights a bit more.


The raising and lowering along the vertical axes provide a bit of a matte and more vintage effect, which I prefer.
Clarity & Dehaze
I’ll start with Clarity here because it’s one of my most used and versatile tools. I’ll typically bring up the clarity on every photo, adding a bit more crisp to the image.
My favorite way to use it is to use the brush tool with a raised clarity and go over the subject in my photo so that they pop from the background. I’ll also put a radial filter over eyes and add clarity there to make them pop!


Dehaze is a tool I just really started using. It works great for me when I have a photo that is a bit too overexposed or if I have a big light contrast in the background. For example, if I have a sky and landscape, the dehaze tool brings the tones down a bit. So then they are contrasting, but not washing each other out.
Radial and Graduated Filters
Radial filters are great when trying to highlight a particular part of a picture.
For me in my travel photos, it’s usually the subject against the background. I want the background to still be detailed. However, I’ll use a radial filter over the subject and brighten the exposure to highlight them.
I typically use Graduated filters for dodging and burning the whole photo.
Where you dodge (lighten) or burn (darken) the photo adds interesting and noticeable depth to mimic light that’s already present.
It can also create light if it wasn’t as well captured in the photo as you’d like.


Clone & Healing Tool
Now here’s the part that everyone should know about!
Of course, in a lot of travel photos, you’re bound to have tourists in the background or other things you don’t want. But I’ll be honest, I’m absolutely clueless when it comes to Photoshop.

My thoughts: Lightroom editing is way more user-friendly in my opinion to remove people and objects. However, it’s not as clean and professional. The way I do it, I think I can usually get away with it, but this technique doesn’t work for every photo.


So, I use the Clone tool and take my time removing little parts of whatever I’m removing.
It will automatically pick a patch from the photo to place there – sometimes it’s acceptable, other times you have to adjust it.
Do that over and over again, keep zooming in and out to check your progress.
Extra Tip: For good measure, I’ll usually brush over the lines with the brush tool and lowered clarity. Or, I’ll mess with the feathering option under the clone tool to leave less harsh lines.
Transform
I don’t use this tool a lot, but if you’re looking to get that Insta-ready length to your photo, this is how I achieve that.
A lot of cool shots emphasize the pose of the subject by shooting a bit more upwards, lengthening their body. You can use the Transform tools, mainly the Vertical tool, to create that desired length.

I would suggest just messing around with these tools for fun! They can really change your picture, which personally I find can be a positive or negative thing sometimes for my photos. But on some photographs, it just brings them up a notch!


Tip: White lines may appear on your photo if you’ve transformed it. Don’t forget to crop your photo to get rid of those!
User Presets for Faster Lightroom Editing
Making a preset on Lightroom isn’t difficult but it’s super useful how you can use them!
Once you’ve got the settings you like on a photo, go up to the toolbar of your computer. Click Develop and New Preset and those settings are copied into a User Preset.
I actually have my own collection of presets that you can shop right here! Even better? You can download some of them for free to use as part of my The Travel Library!
My favorite way to use presets is to make slight adjustments to the main one and save the changes each as individual presets. Little tweaks can make big differences, as not every preset will bring out the best in every photo.
Let me know if this post was helpful and leave your favorite Lightroom editing tricks in the comments!
Don’t forget to Pin this post!


XOXO
Michela